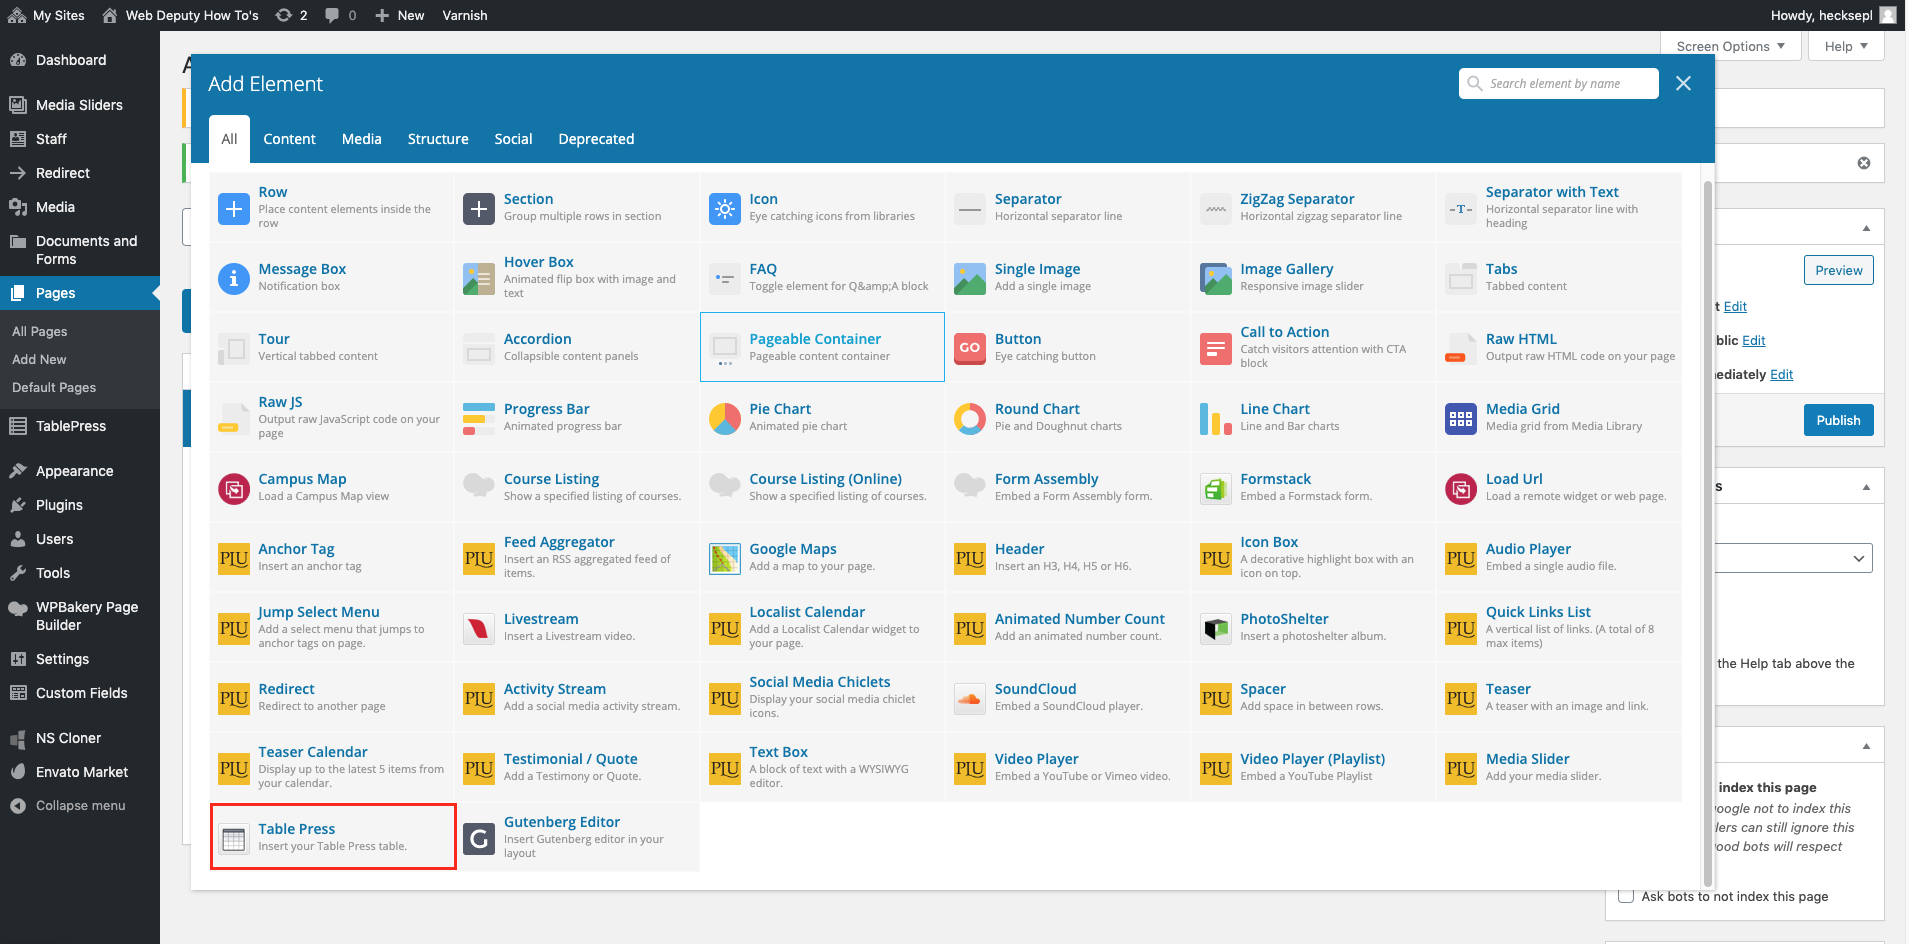
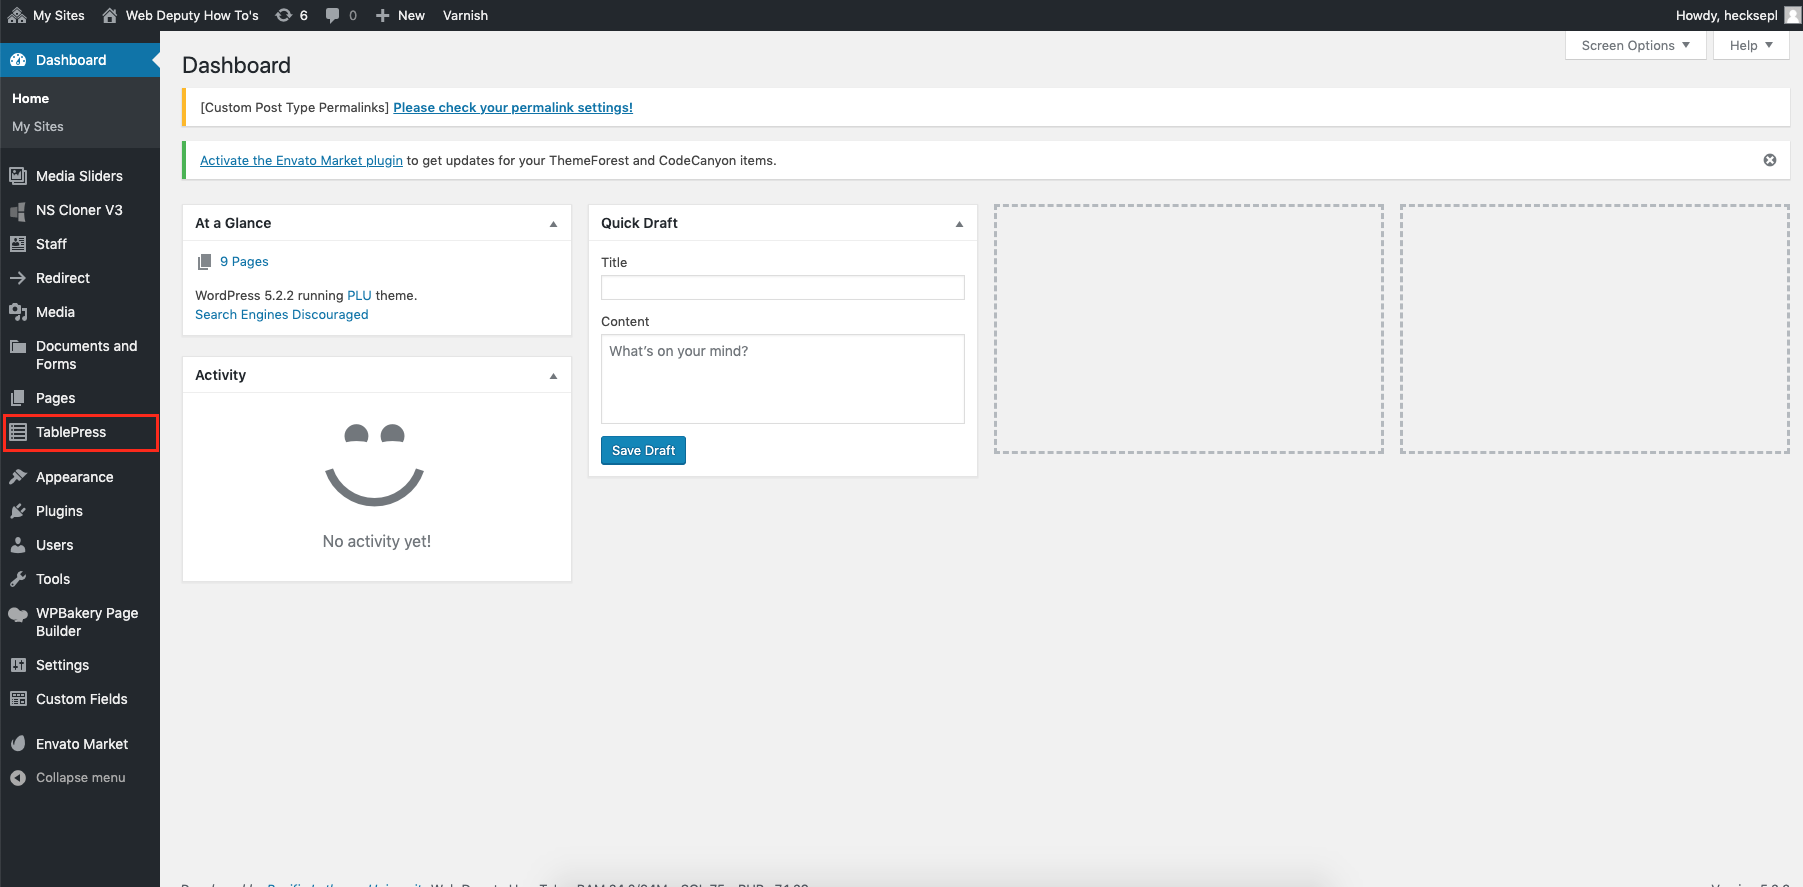
To start adding a table click on the TablePress tab
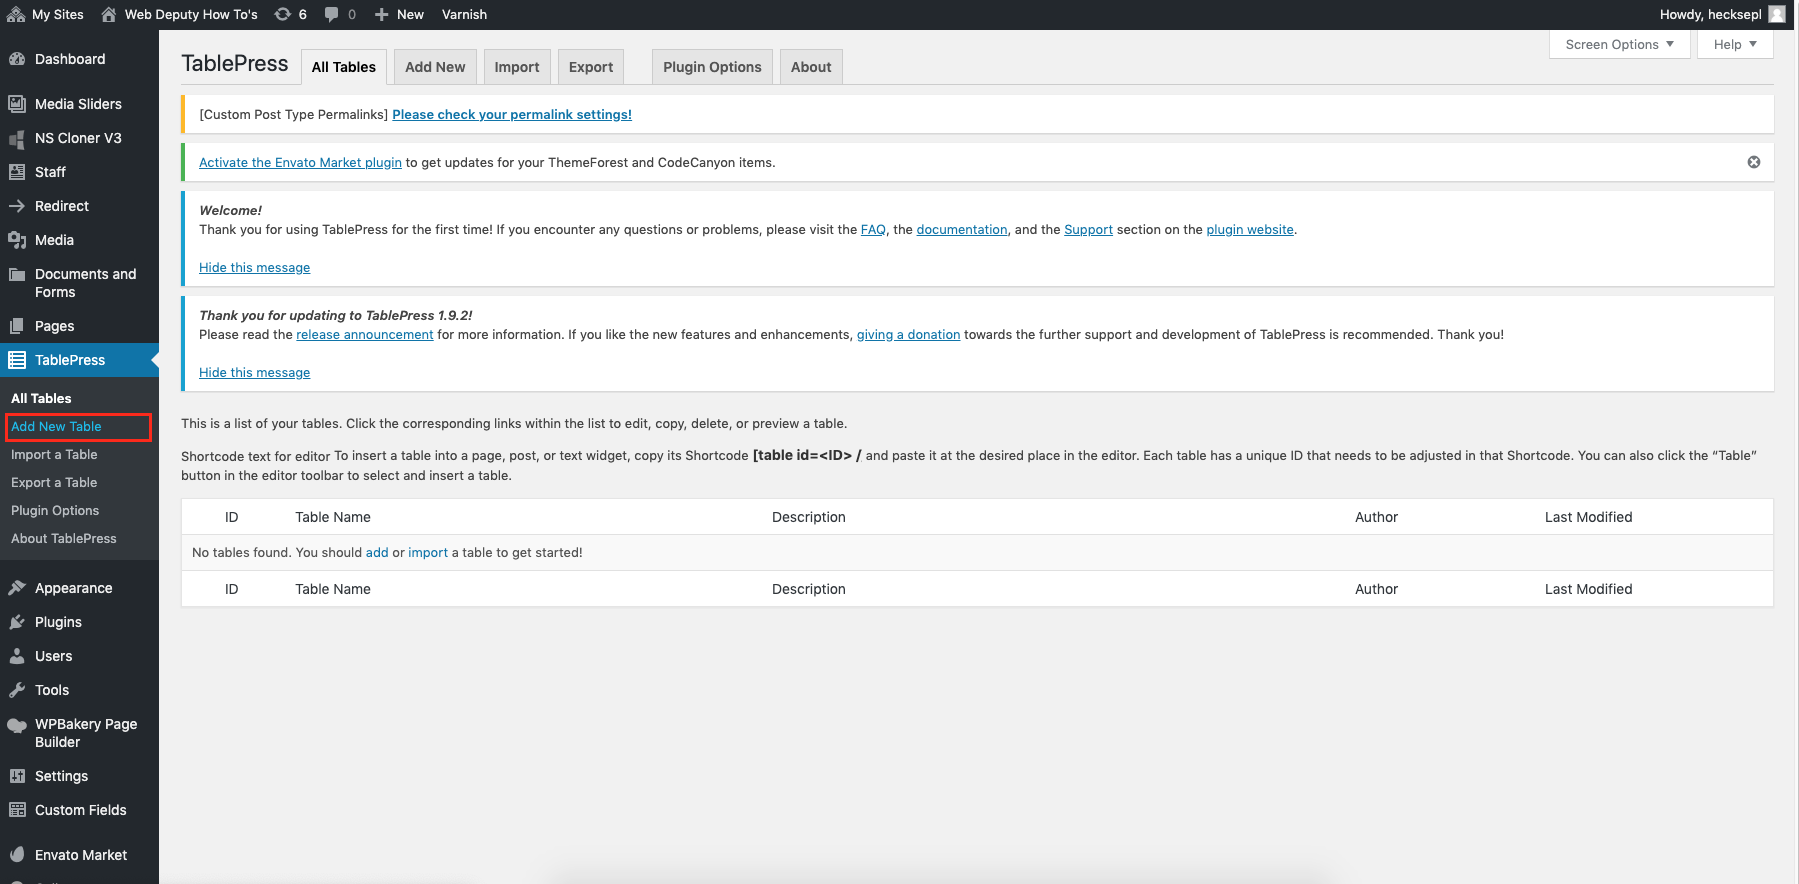
To make a new table click the Add New Table button and then you will be brought here:
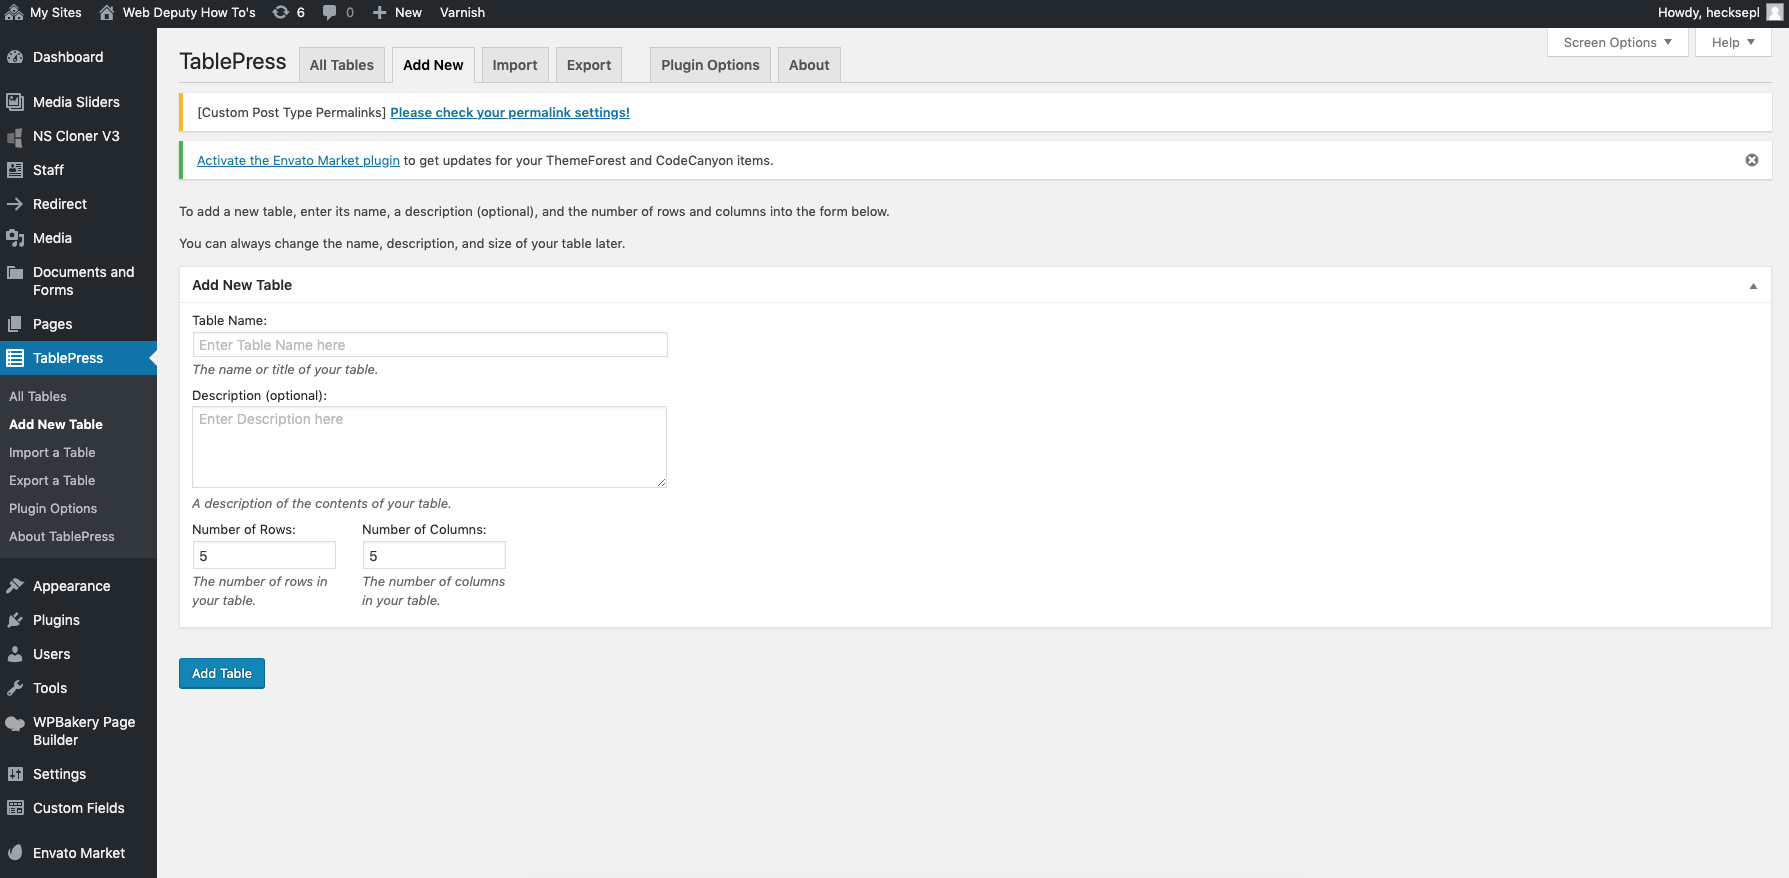
Enter in the title and description, as well as the number of columns and rows. You can add/subtract additional rows and columns later.
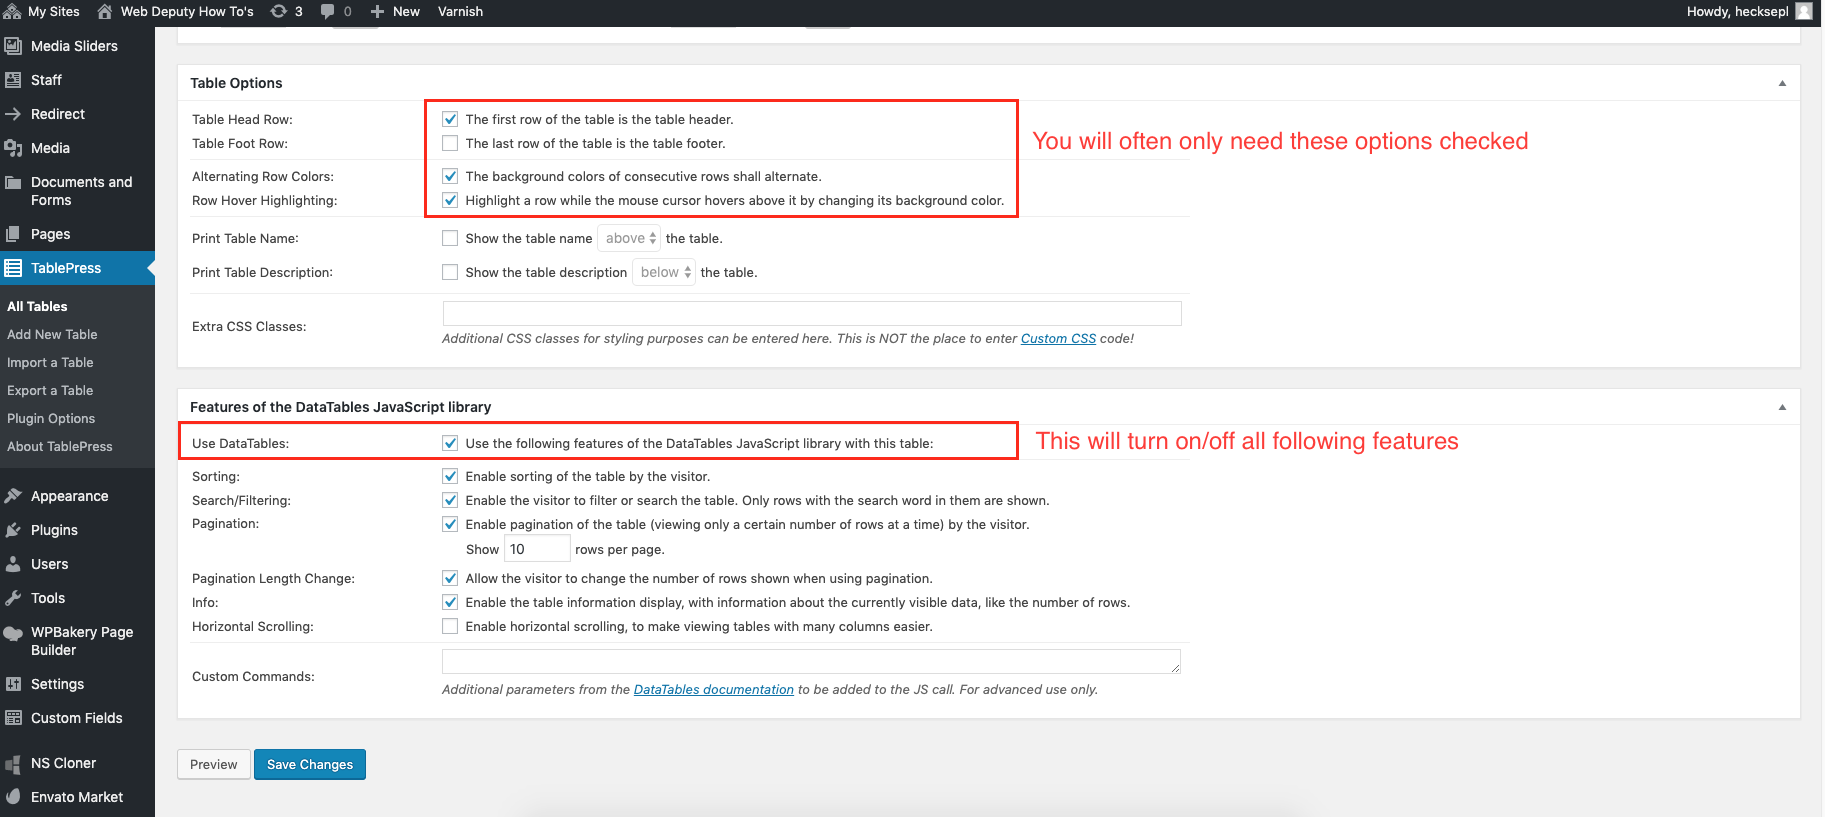
If you scroll down you will see more table options. Start off with only the top three default options checked. The less options you use the better, you do not want a table to become cluttered will options and features you do not need.
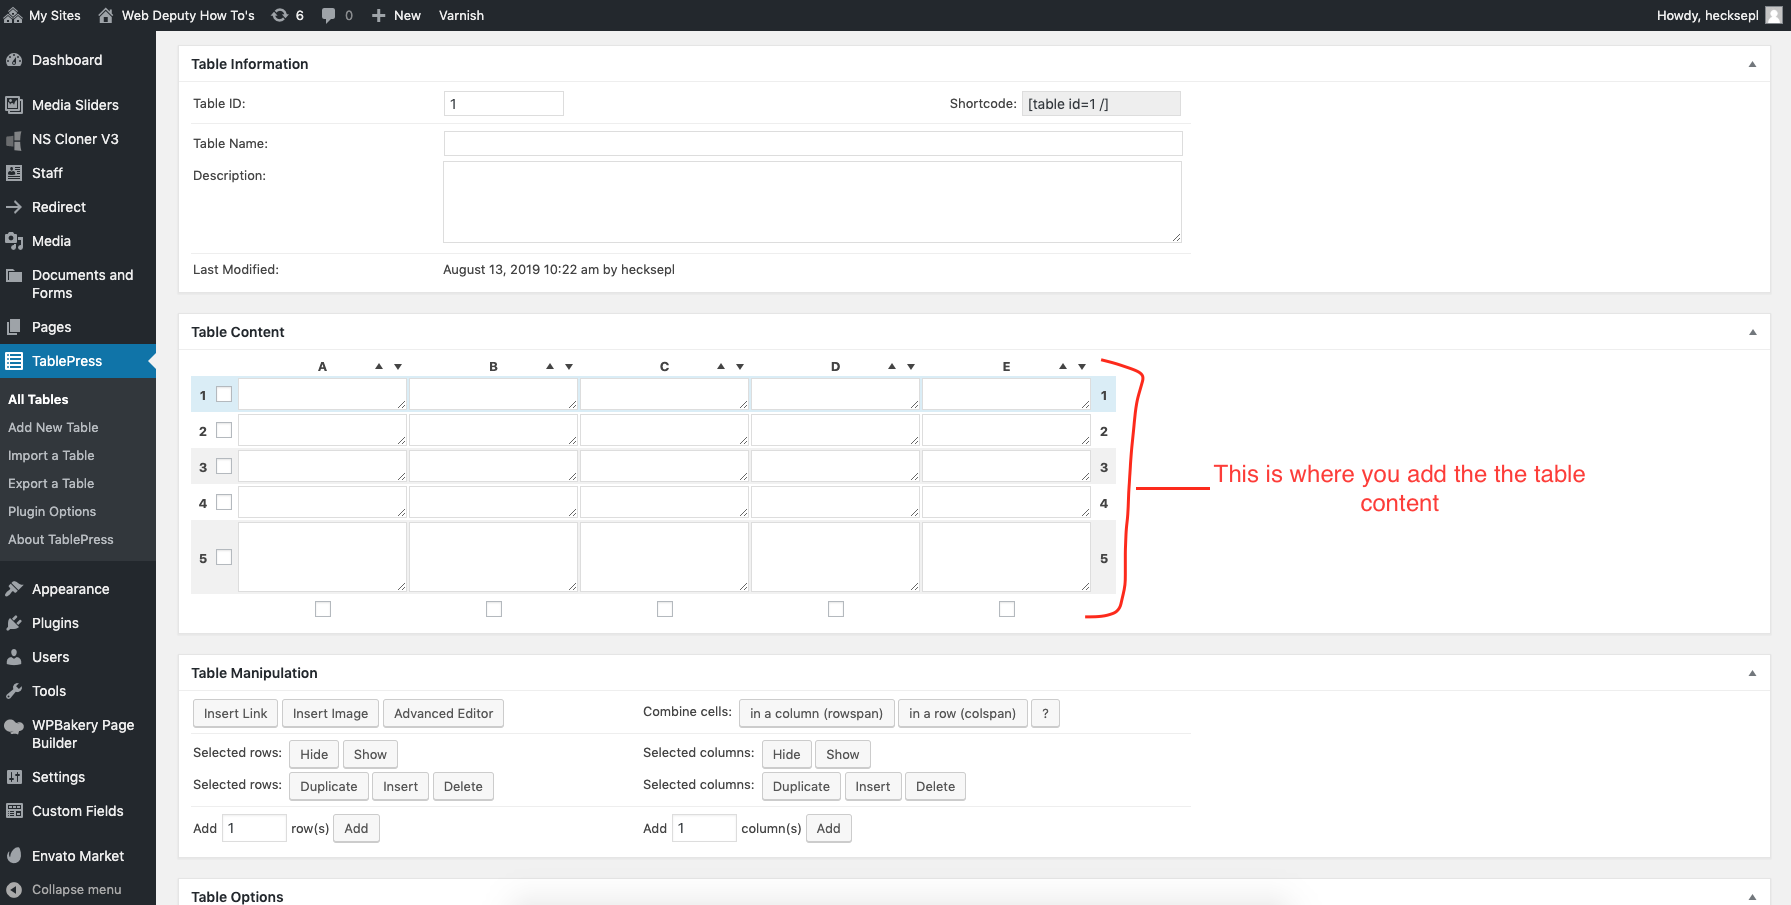
After you are done adding the information click the save button. To use the table you would go to the page you want it on, then find the TablePress element. Add the element to a row and use the dropdown to find the table, Save and update/publish.